Category Archives: HDR

To Tour or not to Tour…


 That is the question……
This is the good and bad of being stuck on a tour bus.  Patti Zwink and I went to Cuba.  We decided we wanted to see Cuba before it was “Americanized” and for a first trip a tour would be the best way to see the country.  Over the next few day’s I’ll share what we saw, a mere glimpse.  This is from the first day of being in country.
Images shot with an iPhone 6+ and a Nikon D810 with a 24-70 lens.

Is it Art, Pt.2?

I wrote this post a little over a year ago on a different site.  I have spent a lot of time since then thinking about the topic and then expanding it to what is photography?  I’ll let you savor on the post for a couple days and then I’ll share some thoughts.

 I was in SF last week on an extensive corporate photo shoot for Swinerton.  When I was leaving I decided to take the Treasure Island exit on the way back to the airport.  The last time I was on TI was in 1975 when it was a Navy Base and I was a naive young seaman in Electronic Warfare school.  So many memories……  I first decided to do a quick photo shoot of the skyline which was etched in my memory.  I first shot it with my Nikon D3 and then decided to try my iPhone on Hipstamatic mode.  Ugh…… it looked as flat and hazy as the skyline.  So then I opened my new favorite app. Snapseed.  With a few adjustments and then a frame adjustment the above photo is what I ended up with.  I know, it looks grainy and it does.  But, the end result is that I’m going to print it on watercolor on my Epson inkjet printer.  A few years ago I did a similar series that I printed on the watercolor paper and it looked great.  Now, we’ll find out how IPhone photos hold up.

The techy stuff:  camera:  iPhone 4 (the 5 is on order)

Apps:  Hipstamatic and Snapseed by Nik

My real work is at:  http://www.zwink.com

Not so quick Fix

  Being a smart shooter is knowing when to ask for help.  I was recently asked to photograph this interior at UCSD for the builder.  The primary use was to enter in a competition.  The big problem was that the location was not going to be finished until the following Thursday, with the deadline that Monday.  Thursday would be too late.  So after a fair amount of negotiating my assistant Abbey and I decided to remove the cardboard off the desktops in the whole auditorium.  After a quick call to my retoucher, Holly of Spitting Images we decided to remove temporarily the plastic off three rows of the chairs.  That would give Holly enough of a sample to clean up the image.  Additionally we shot a section of paneling which she also layered on top of the black wood to complete the retouch portion of the project.  I then lightened the top projection screen and wal la……. image done, ready to send to the client.

As a pro you need to be a problem solver.  When someone say no as the project manager answered when we asked to clear all the plastic we came up with another solution.  Develop and utilize your resources.

Techy stuff:  camera: Nikon D3, lens 14-24, image processing in Lightroom 3, Photomatrix and Photoshop 5.  Additional retouching by the wonderful Holly Nelson-Kramer.

More of my work…… www.zwink.com

IPHONE 4.0 revisited

Well, I’ve finally had the new Iphone long enough to do a review on the camera portion of the phone.  Frankly I love the phone.  By no way am I an expert on the phone but I’m a semi-power user.  I use it everyday and even in the evenings.  I use the text and email functions religiously.  I’ve even started playing an app called Flick Fishing since I don’t have time to do the real thing.    Right now I’m listening to the Aztec postgame show while writing this post.  But I digress.

When I did my first review I was excited about the new camera in 4.0.  I’ve definitely used it to come away with a mixed review.  One of the exciting new features was the new led flash.  Although it’s a great improvement over the previous non-flash version there are mixed results.  Red eye is a major problem.  If your subject looks straight at you there will be this effect every time.  The problem is because of the flash being so close to the lens.  So, you either need to run it through a red eye reduction program or have the subject look slightly away so the flash doesn’t hit the back of the retina in the eye.

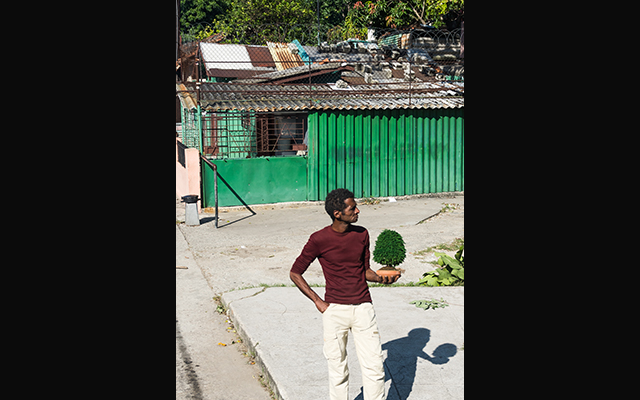
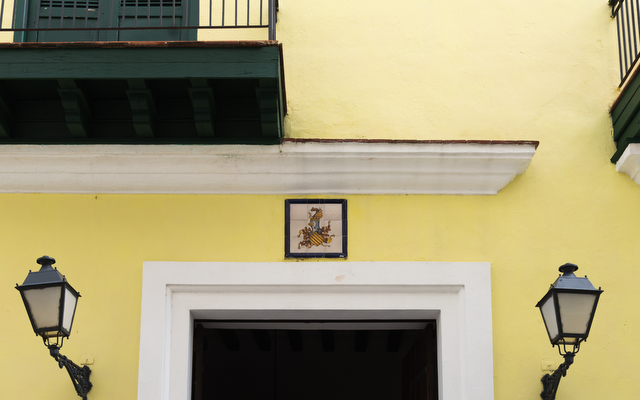
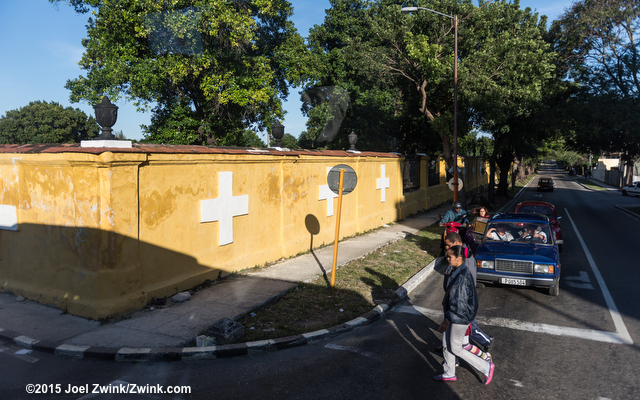
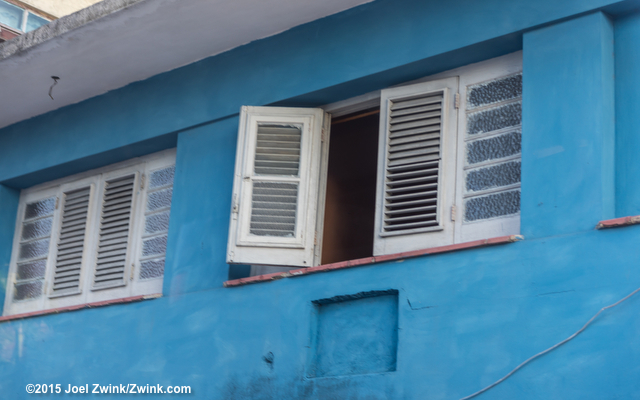
The image and lens quality are greatly improved.  All the images above were made with the new Iphone.  There is improved sharpness, image detail and color capture.  The color capture is fairly accurate until you use the flash.  My images turn to turn warm (slightly yellow) which can be easily adjusted in Photoshop or any other editing software.

The video on the camera is excellent.  It give a good capture and the sound quality is excellent.  On top of that you can upload your video to your MobileMe account and share with family and friends or….. even a client.

The original Iphone camera was a piece of junk, especially for the price you had to play.  The 4.0 is much improved and hopefully Apple won’t be satisfied with it.  With a little practice you can make some fun, even creative images.  You can share, print and publish them with good results, provided used small.  There is even a hdr capability I’ll expand on later.  Thank you Apple for the improvement but you have a long way to go.  (btw Apple, how about a photo contest to show the awesome Iphone images being created and show your support for photographers by not doing a right grab in the process.)

Tech info:  I’m providing very little.  the exposures varied but the ISO ranged from 80 – 800 for the night images.  The still camera function is aperture priority with a fixed 2.8 lens.  I may provide more in my next review but I’m more inclined to show and discuss creative possibilities with this fun phone.

Subjects:  l-r  Halloween decorations at our home, Lake Wohlford mailboxes, California Screaming at Disneyland,  graffiti at Cal Tech, Lake Wohlford Cafe restroom and Casa Bandini entry design.

My other work can be viewed at: www.zwink.com

Catching the Storm

Woods Pond 2

SINGLE IMAGE HDR:

HDR photography is not always a product of three to seven separate images.  Nor does it have to be overdone to loose the effect and value of the hdr.  The image above was taken during a visit to my home town in Kansas.  Having been there previously I knew there was the likelihood of a potential nice landscape image at sunset, not to mention a high probability of catching a fish or two.

Shortly before this image was captured on a nearby field they started burning some native brush.  This gave the perception of a gathering storm and gave texture to the sky.  As I was ready to start shooting the big fish struck.  My host Glen quickly came over to reel in the fish.  With a slight reposition to the right I was able to capture this image as the fishing rod was bent over lined up with the cloud formation from the fire.

In postproduction I brought the files into Lightroom.  I made two virtual copies and then adjust them to give three distinct images for the highlights, midtones and the shadow detail.  After merging them and adjusting them in Photomatix we had the sunset, fishing shot and a thank you print for my host.

My other work can be viewed at: www.zwink.com

Going Solar

I just finished shooting an assignment for Swinerton Builders showcasing the new solar farm installation at Harrah’s Rincon Casino and Hotel.  I ended up doing a couple setups to process in hdr for my client.  The key to a good hdr image is a good steady tripod and good clouds in the sky.  The hdr process has to be handled properly otherwise the image will start to look too much like an illustration.  In this case the choice of hdr helped create the strong contrast elements and accentuated the shadows and made the sky more dramatic.

One of my goals was to highlight the elements and power of the sun  and sky.  This solar farm was a one megawatt facility.  The CO2 savings would be the equivalent to the output of 77,600  cars.

More of my work can be view at:  www.zwink.com

Playing with a new lens


Midland_JDZ7490a
Midland Animal Clinic

I just had brain surgery a week and a half a go.  Seriously…….  Modern medicine is a wonderful thing.  Eight days later it was time to get out the house and go test my new Nikon Nikkor 24 pc tilt shift lens.  I decided at the last minute I was going to do a sunset shot but then waited too long to go to my first choice of location.  So, I decided instead I was going to go shoot the Midland Animal Clinic in Poway where we take our pets to.  This is a fairly new building that I’d been wanting to shoot and this was the perfect excuse.  I knew that the success to making a good image was to take advantage of the lens, using it’s perspective controls to keep the lines on the building straight.  I then did several exposures as the dusk turned into the evening and from those multiple files selected four files to work with.  I used Photomatix to create a HDR image and then carefully layer in one of the original files to pull out the signage in the highlights.

Just a quick word about working with HDR tonemapping in Photomatix.  There are no sound formulas or great starting points that will give you a great image with the automatic settings.  It’s really a starting point to creating a good image and the more you experiment with it the more you will understand it’s controls, allowing for more creativity in the image making process.  HDR won’t work on everything.  Part of successfully integrating it into your work is to use it as a tool to enhance your vision, not create it.